Enhance Your Audio Set-up with Highly Rated Microphone Methods
In the realm of audio recording, microphone placement plays a pivotal role in capturing the desired sound. This article will delve into some of the best techniques to optimize your recordings, ensuring you get the best possible audio quality.
Experimenting with microphone position and angle is key. Moving the mic incrementally while monitoring the sound quality can help find the ideal position that suits your recording context best [1][5].
Maintaining a consistent distance between the sound source and the microphone is essential to avoid volume fluctuations and ensure clarity [5].
Using directional microphones close to the sound source can take advantage of the proximity effect, thickening bass response while reducing room noise and unwanted ambience [3].
Combining close mic’ing with room mics can capture both direct sound and natural room ambience for a more balanced recording [3].
Reducing plosives and sibilance is crucial, and this can be achieved by using pop filters and adjusting the angle or position so the mic is not directly in line with strong bursts of air from speech [5][2].
Monitoring with headphones during placement and recording provides real-time audio feedback, helping instantly identify issues like distortion, background noise, or poor mic positioning [2][5].
Choosing a quiet recording environment and using acoustic treatment can minimise unwanted reflections and ambient noise that affect mic placement outcomes [4][5].
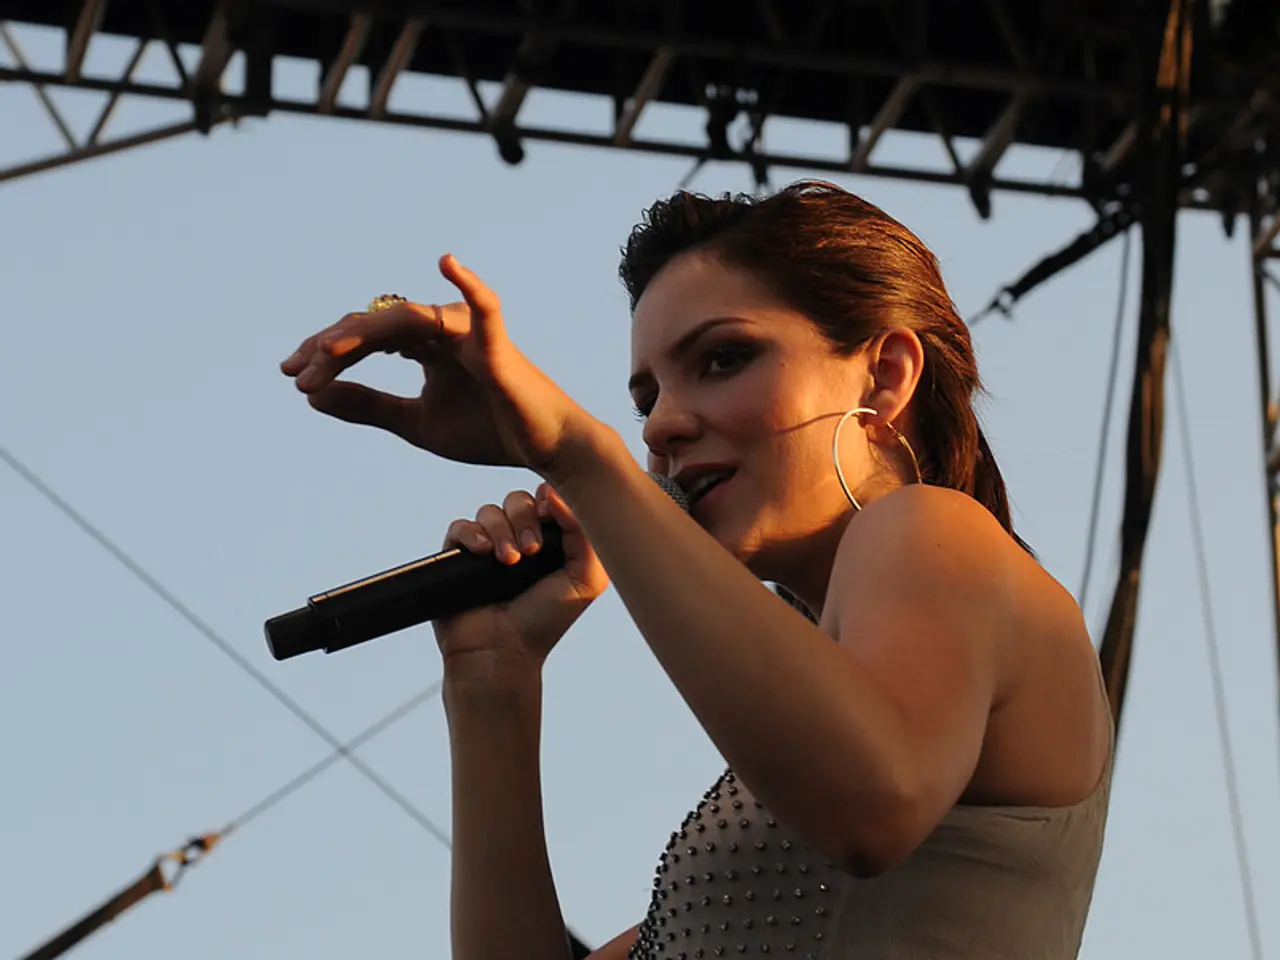
For vocals or podcasts, a cardioid microphone positioned slightly off-axis (angled away from mouth bursts) about 6 to 12 inches away is recommended, paired with pop filters to reduce plosives [2][5]. For instruments, combining close mic’ing with distant room mics captures both detail and atmosphere [3].
The Blumlein Pair setup, particularly effective for intimate performances or recording small ensembles, captures sound directly from the front and back, offering a balanced stereo field [6].
An audio interface serves as the bridge between microphones and a computer, converting analog signals into digital audio files [7]. In studios, cardioid and omnidirectional pickup patterns are popular. Cardioid mics capture sound from the front, ideal for isolating instruments or voices, while omnidirectional microphones capture sound from all directions, making them suitable for recording room ambiance [8].
Proper gain staging is crucial for maintaining audio clarity, and setting audio interface levels ensures peaks consistently hit between -12 dB and -6 dB [9]. Mixing consoles allow you to balance audio levels, apply effects, and route audio to different channels before they reach your software [10].
In conclusion, optimizing microphone placement is an iterative process that combines technical guidelines with critical listening and environmental adjustment. With these tips in mind, you're well on your way to achieving optimal audio recordings.
- When recording vocals or podcasts, positioning a cardioid microphone slightly off-axis (angled away from mouth bursts) about 6 to 12 inches away and using pop filters can help reduce plosives.
- Monitoring with headphones during placement and recording provides real-time audio feedback, helping instantly identify issues like distortion, background noise, or poor mic positioning.
- Using directional microphones close to the sound source can take advantage of the proximity effect, thickening bass response while reducing room noise and unwanted ambience.
- Combining close mic’ing with room mics for instruments captures both detail and atmosphere.
- An audio interface serves as the bridge between microphones and a computer, converting analog signals into digital audio files, and proper gain staging is crucial for maintaining audio clarity.


